Wykonanie
Musieliście chwilę poczekać na ten przepis, ale w końcu jest! :) Było to spowodowane faktem, że chciałam by warstwa
czekolady była jak najcieńsza i chwilę zajęło mi „obmyślenie” sposobu jak to osiągnąć ;)You had to wait for this recipe for quite a while, but it’s finally here! :) I just wanted to achieve as
thin layer of chocolate as possible and it took a few tries to get it the right way ;)…Składniki (na 6 sztuk):100g
białej czekolady100g
masła orzechowegook 1,5 łyżki
powideł śliwkowychrozpuść
czekoladę i przelej ją do rękawa cukierniczegoprzygotuj 6 papilotek do babeczek, standardowej wielkościprzy pomocy rękawa nałóż niewielką ilość
czekolady na wewnętrzny brzeg papilotki (mniej więcej w połowie wysokości), następnie odstaw, by
czekolada spłynęłagdy pokryjesz brzegi wszystkich papilotek, wypełnij
czekoladą dno każdej tak, by warstwa
czekolady była na całej „zaczekoladowionej” powierzchni taka sama (i jak najcieńsza). Powinna Ci zostać mniej więcej połowa
czekolady w rękawiejeśli masz metalową foremkę do babeczek (na 6 sztuk) przełóż do niej papilotki i wstaw całość do zamrażarkipodgrzej delikatnie
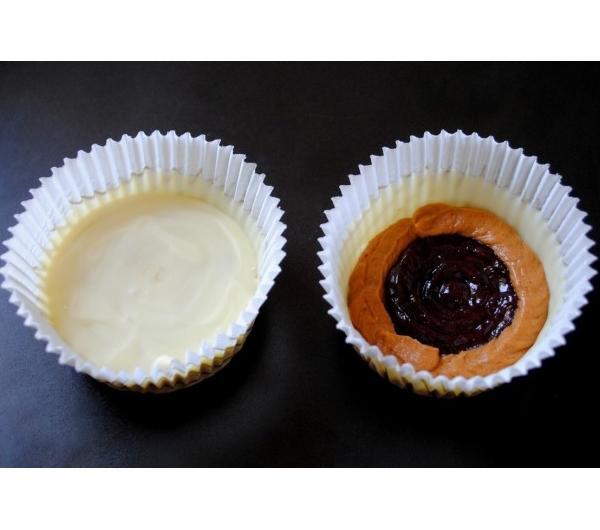
masło orzechowe – tylko tyle, żeby zrobiło się bardziej płynne. Następnie przełóż je do kolejnego rękawa cukierniczego.wyjmij foremkę z zamrażarki. Do każdej papilotki nałóż cienką warstwę
masła orzechowego (najwygodniej spiralnie zaczynając od środka). Powinna Ci zostać odrobinę ponad połowa
masła.jeśli powidła są prosto z lodówki, je również musisz podgrzać, żeby dało się je łatwo nałożyć przy pomocy rękawa na środek warstwy z
masła nałóż podobnej grubości warstwę powideł pozostawiając pustą przestrzeń przy brzegach (wypełnisz ją za chwilę
masłem orzechowym).wypełnij wspomnianą w poprzednim punkcie szczelinę
masłem i nałóż na wierzchu kolejną warstwę
masłaostatnim krokiem jest nałożenie wierzchniej warstwy
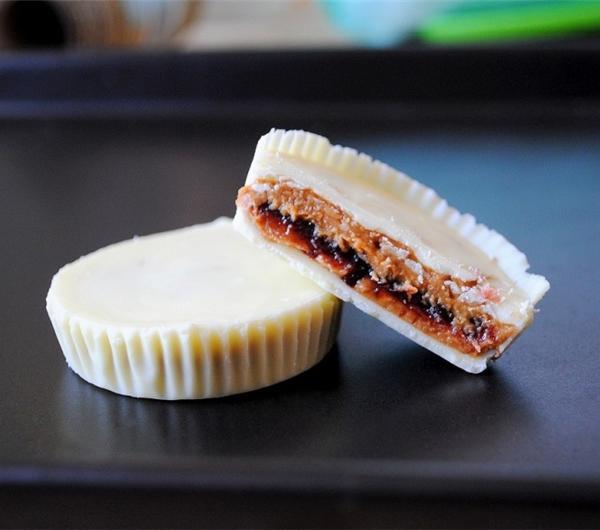
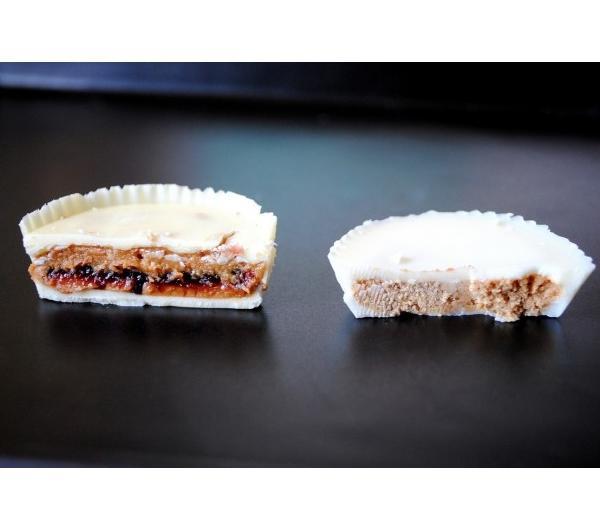
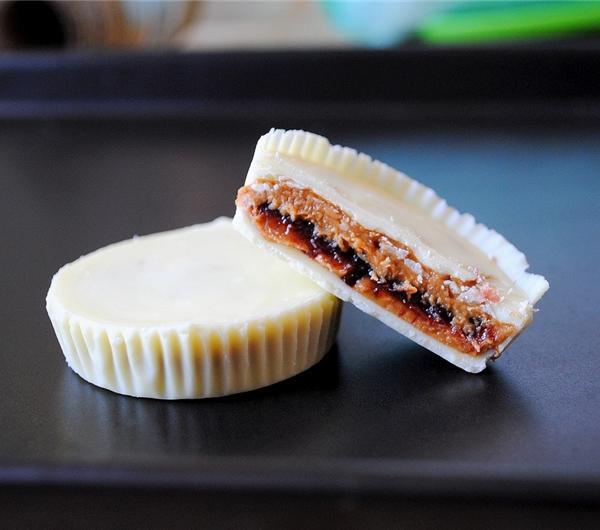
czekolady i wyrównanie powierzchni – najlepiej sprawdza się delikatne „upuszczanie” foremek z kilku centymetrów na blat ;) na koniec wstaw foremkę do lodówki na noc, lub zamrażarki, jeśli nie masz tyle cierpliwości ;) i pozostaw aż wszystkie warstwy zastygną :)Smacznego! :)ps jeśli chcesz, możesz przyciąć papilotki, by bardziej pasowały na wysokość do
czekoladek – wygodniej zrobić to już po ich zrobieniu*we wszystkich 3 przypadkach, otwór na końcu rękawa musi być niewielki…Ingredients (for 6 cups)100g of white chocolate100g of peanut butterabout 1 , 5 tbsp of jam (I used plum)melt the chocolate and
pour into a piping bagprepare 6 paper cupcake molds, the regular sizeusing piping bag, put a small amount of chocolate around the inside edges of the molds, about half way up,
than put away so the chocolate go down the sideswhen you do it to all 6 molds, cover the bottom of the molds with a
thin layer of chocolate (preferably even on the edges and bottom). You should be left with about half of the chocolate in the bag.if you have a metal 6-cupcakes
mold, put the paper molds into it and
than transfer into the freezerslightly heat up the peanut butter, until a bit runny.
Pour it into another piping bag.take the
mold out of the freezer. Put a
thin layer of pb on the bottom layer of chocolate (it’s easier doing it roundly starting in the center and going out). You should be left with about half of the butter in the bag.if your jam is straight from the fridge, you have to heat it up a bit, too, so it will be easier to pipewhen it’s soft enough to be pipe – pipe it ;) in the middle of peanut butter layer, leaving a small gap near the edges (you’re gonna fill it with pb in the next step)fill the gap with peanut butter and cover jam layer with the rest of pbthe last step is to cover it all with the remaining chocolate and making the surface even – the easiest way is to „drop” the paper molds from a few centimeters on a counter ;)at the end put the almost-ready pb&j Reese’s into the fridge for a night to get firm, or if you are not
very patient – put them into a freezer for a while ;)Bon apetit! :)**in every 3 cases – piping bag’s end have to have a really small hole
